
Blender Gradient Sky
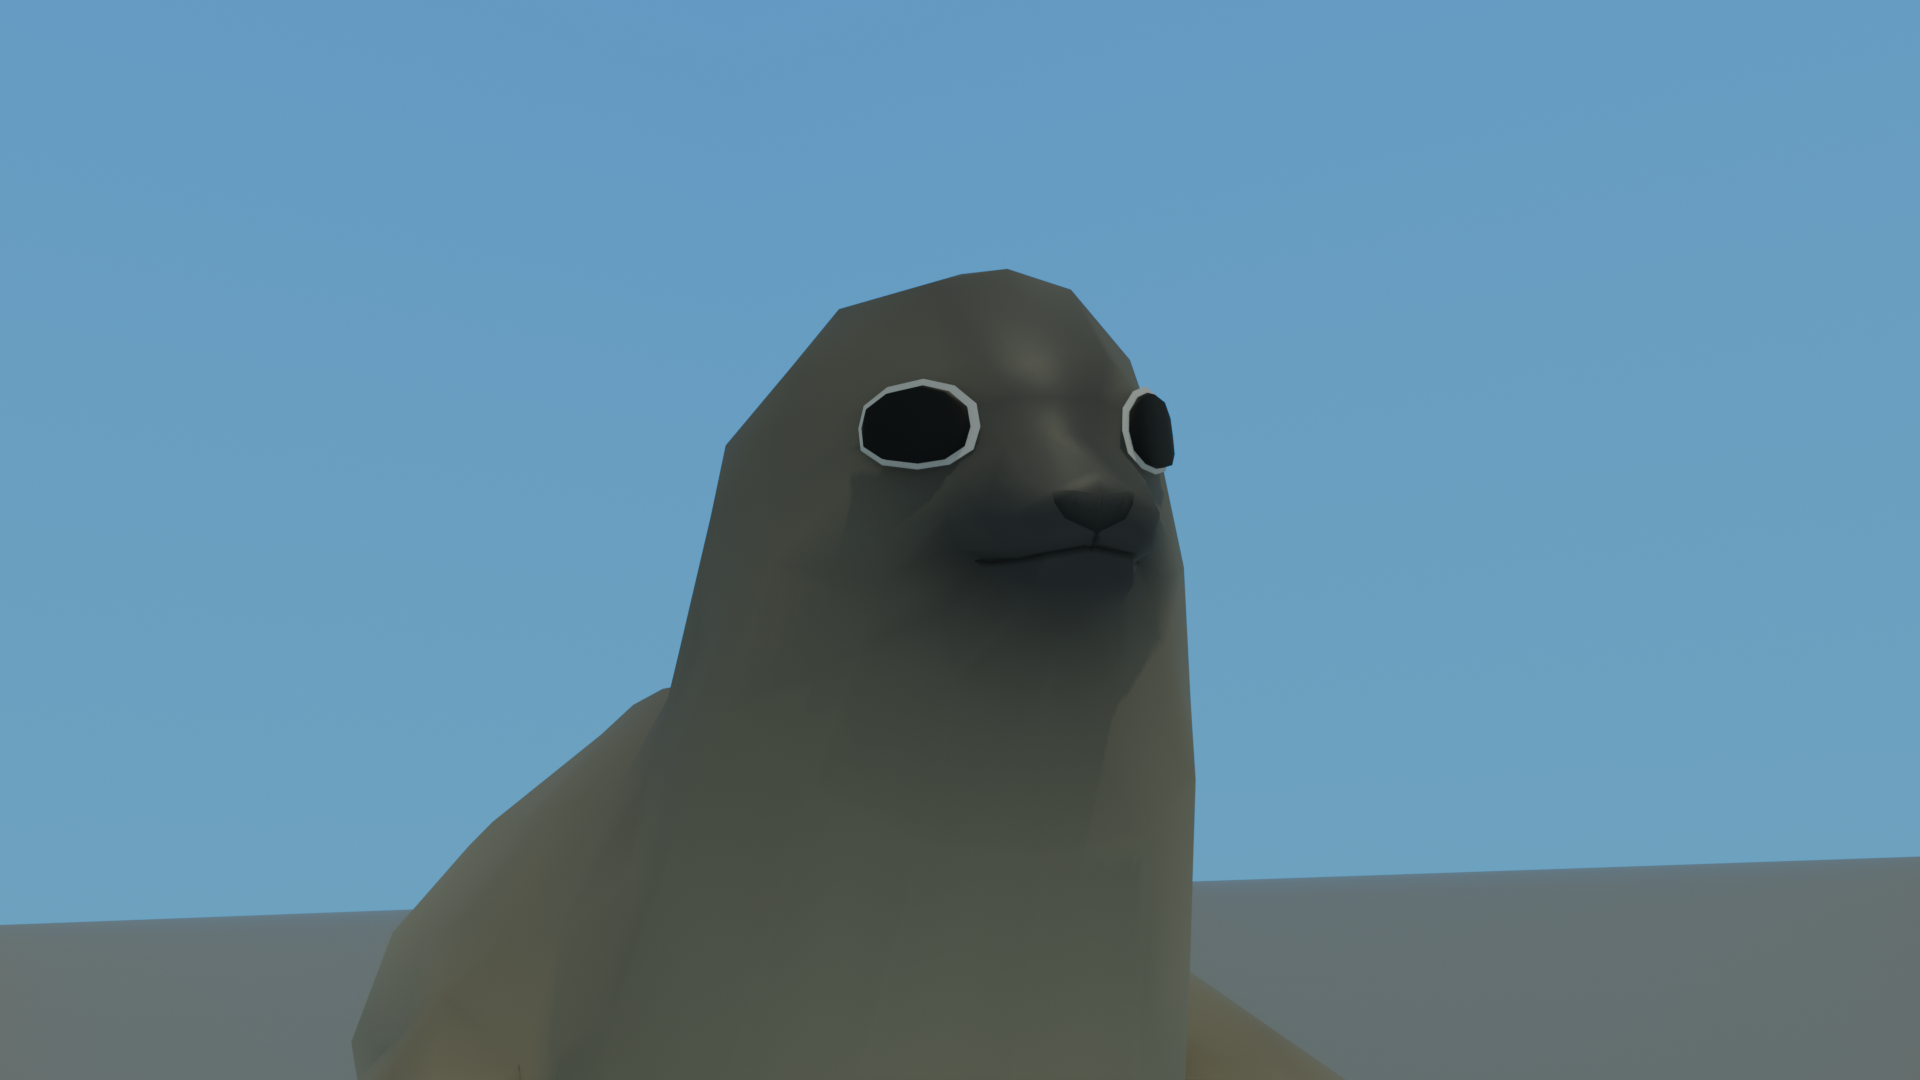
The animals in this video come from David o'Reilly's Everything Library. You can find it here: Everything Library Animals
This tutorial is about how to make a sky in blender that changes the render from ugh to wow. It's just a gradient, but hopefully you'll be able to see what I mean in the video.
The sky is just a Plane. To get more sky, just create a second plane that is matched up to the first. Rotation does not harm your sky.
You need a valid UV map to work. If you create a plane or a cube or just about anything, it will come with a valid UV map. You might think that using a big sphere is a way better way to deal with this but remember that spheres are not ideal geometry for a sky. In this case, a couple of planes are actually superior.
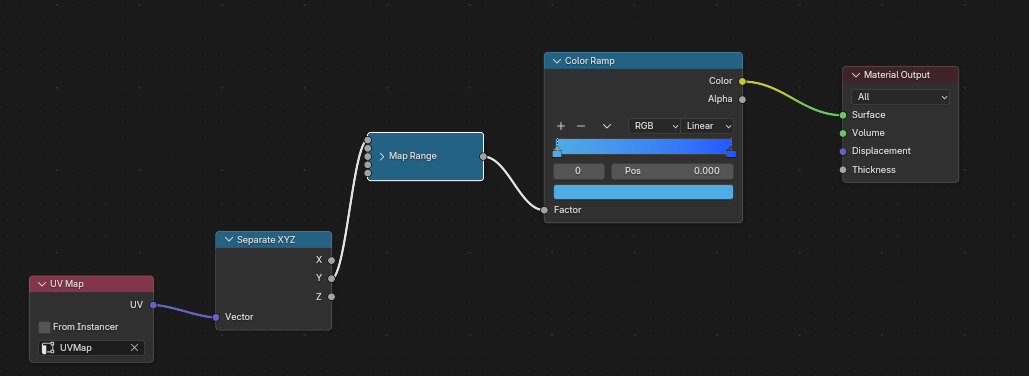
UV Map → Separate XYZ (Y) → Map Range → Color Ramp → Material Output
I was thinking about making a blender extension, but you can see in this video that it's pretty easy to make without a blender extension.
I didn't say in the video that I scaled the sky to 120x 2 meters. By doing this they go outside the camera's clip plane. While normal people don't have to do this, I thought I'd just say to make it so that the camera catches the sky, I had to increase the far clip plane to 1000 from it's default of 100.
I think that's all there is to say. I hope people will take my advice and use these cool gradient sky backgrounds in their renders -- and maybe even in their games.
Permalink-
Leave a Reply


Comments: 0
Leave a reply »